
How To Install Electric Netting
By Premier 1 Supplies
Netting is, without question, the most effective and user-friendly temporary electric fence design. Learn how easy it is to install and move. Watch the video, then read through the steps below for more detail.
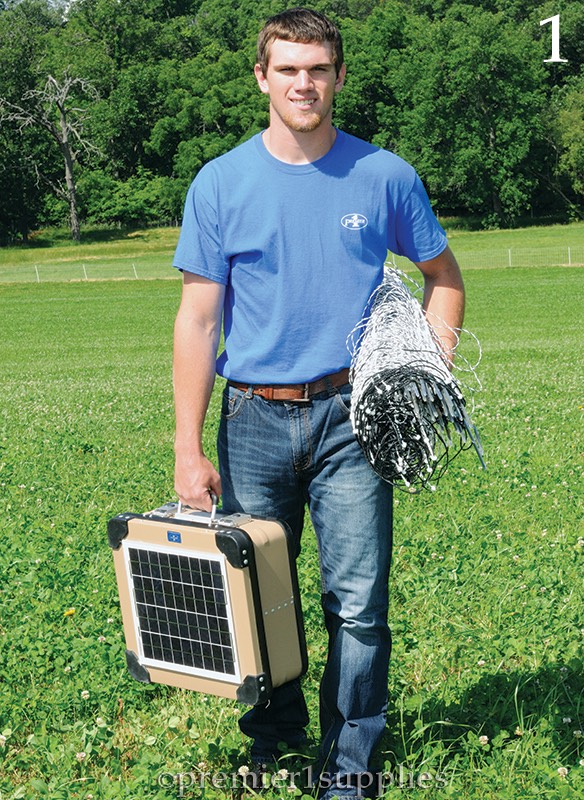
1. Site preparation. Carry roll(s) of net and energizer to proposed fence line. Prepare line by flattening or mowing all vegetation over 4 inches tall. We often use a vehicle to make a track through grass or weeds and then install the fence along the wheel track. For long fences needing 2 or more nets, we put the rolls into the back of a vehicle and throw them out at intervals (determined by length of rolls) as we drive along making the path.
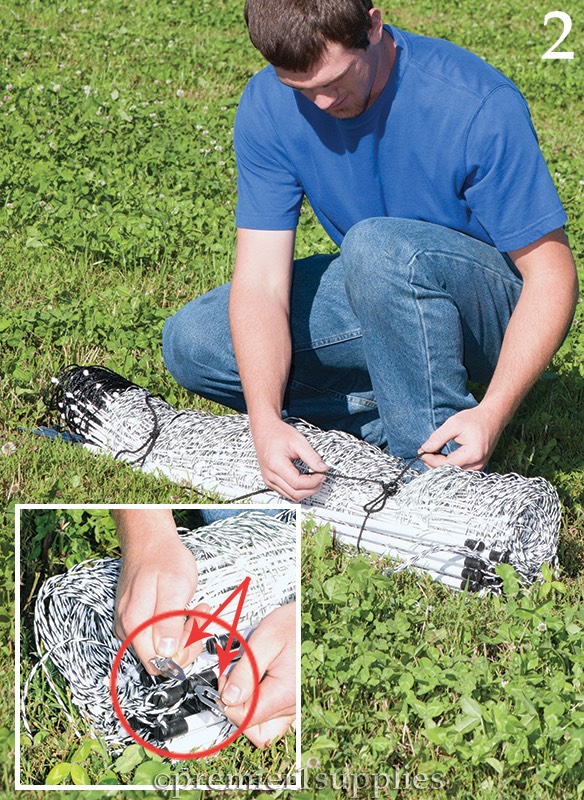
2. Untying the roll of netting. Untie the 2 tie strings and pull apart the 2 metal clips to release the roll of net (see arrows in photo).
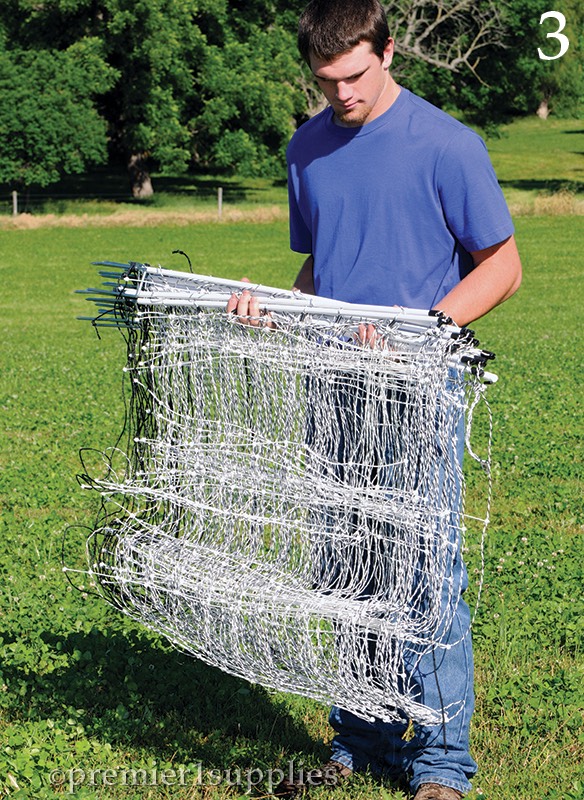
3. Unrolling the net. Grip all the posts as a group and lift them up in front of you. This allows the netting to unroll in front of you in a series of folded “pleats,” each attached to the posts in your hands. Lay unrolled pleats on the ground. Locate the beginning post. (It’s the post with 2 tie strings attached and a stainless steel connector at the top. For PermaNet®, this job is easier with 2 people.
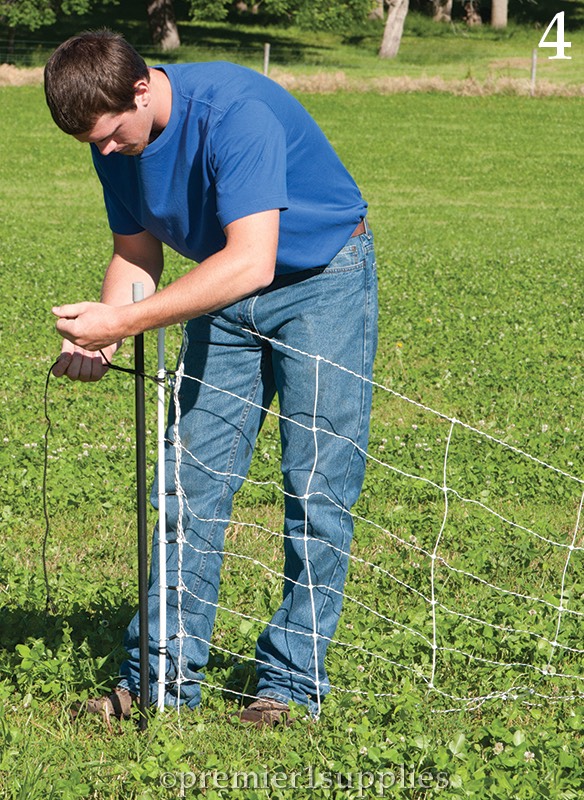
4. Inserting the first post. Insert the beginning post into the soil beside a stronger support post or an existing fence. Use the 2 tie strings to secure the first post to the support post or fence. Keep the net end post(s) at least 2″ away from anything that is conductive (metal, wood, concrete).
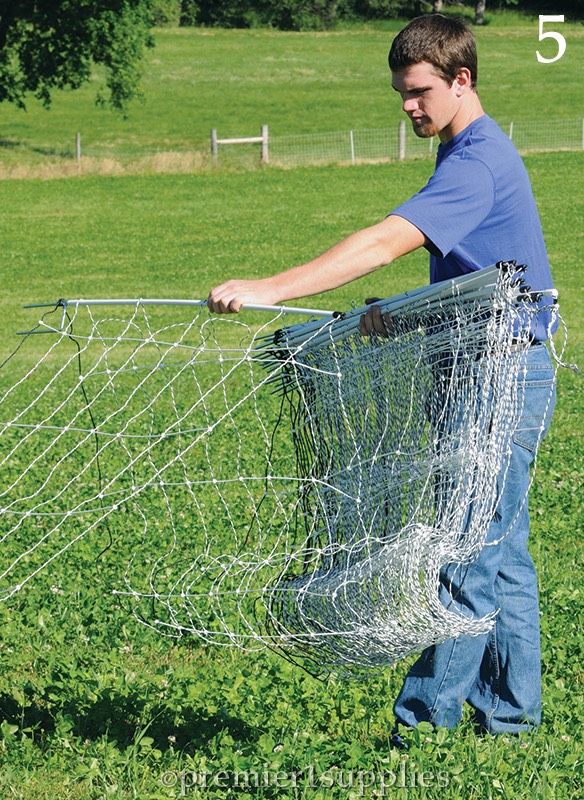
5. Unfolding the net. Grip all remaining posts as a group and lift them up in front of you. Then walk backwards along the intended fence line, “feeding out” each post as it’s pulled from your hands, thereby unfolding the netting. To reduce the risk of tangling the netting, try to drop or toss each post in sequence, helping to free it from the other posts you are still holding. Unfold entire roll of netting along the fence line.
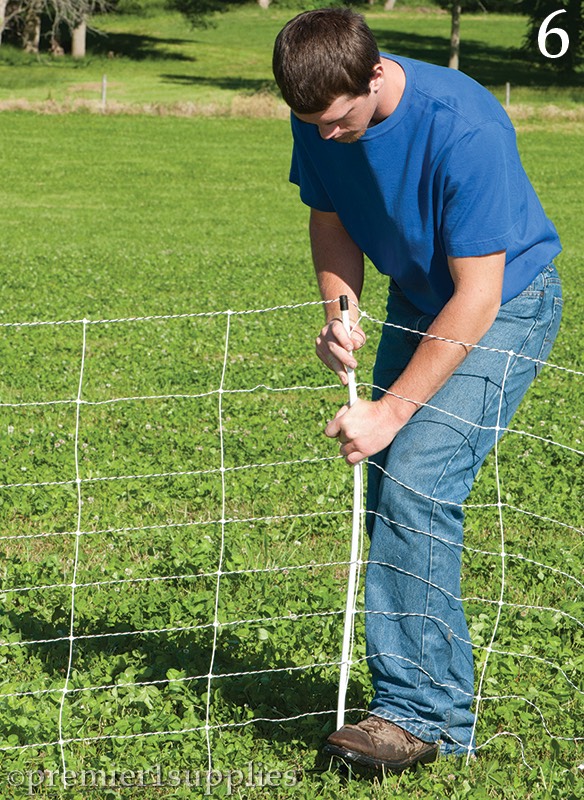
6. Installing line posts. Starting at the first post, walk along fence line, picking up each post in turn and pushing it into the ground. Apply only enough sideways tension to each post to keep the netting erect and straight. Stretch netting just tight enough to stand up well. If the netting is too tight, it cannot adjust to changes in terrain.
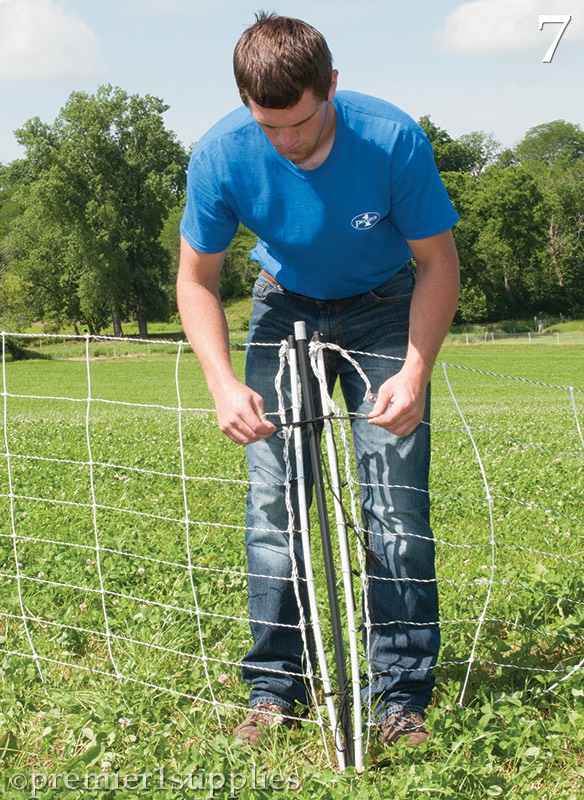

7. Joining 2 rolls of standard net. Start the second roll by placing its first end post next to the last end post of the first net. Use the 2 tie strings to tie them together.
8. Joining 2 rolls electrically:
- To connect standard netting: Slide the built-in, stainless-steel male/female “power” connectors together by hand at one end. Do not use pliers to force them. The 2 pieces of metal only need to make and maintain contact.
- To connect Pos/Neg netting:
- Connecting energizer to pos/neg netting. For either a battery (DC) or plug-in (AC) energizer, attach the lead wire from the fence terminal of energizer to the top clip at the beginning of the net. Attach ground wire from the ground terminal of the energizer to the ground rod. Then attach an additional wire from the second (lower) clip on the Pos/ Neg net to the ground rod.
- Connecting 2 rolls of pos/neg netting together. When connecting 2 rolls of Pos/Neg netting, always connect the top clip to the top clip (positive +) and the second clip to the second clip (negative –).
- Terminating the end of pos/neg netting. At the end of a roll of Pos/Neg netting, do not let the positive and negative clips hang loose. Instead, attach each clip back to its respective wire. (Positive clip to positive wire, and negative clip to negative wire.)
- Converting pos/neg netting to standard netting. At the beginning of the first net, attach the top clip of the net to the lower clip. Then connect the lead wire from the energizer fence terminal to that combined set of clips. From the ground terminal of energizer, connect the ground wire to the ground rod system only. To convert multiple rolls, attach first net as described here. Thereafter, connect top clip to top clip and lower clip to lower clip, just as you would for Pos/Neg netting.
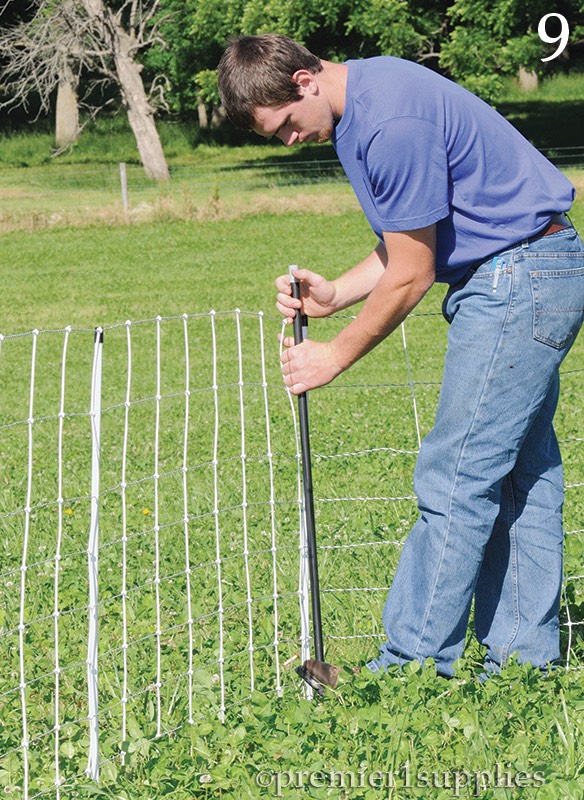
9. Ends, corners and curves. Use a FiberTuff™, PowerPost™ or FiberRod to provide extra support at the ends and corners. More support may be needed depending on the type of netting, terrain and shape of the enclosure.
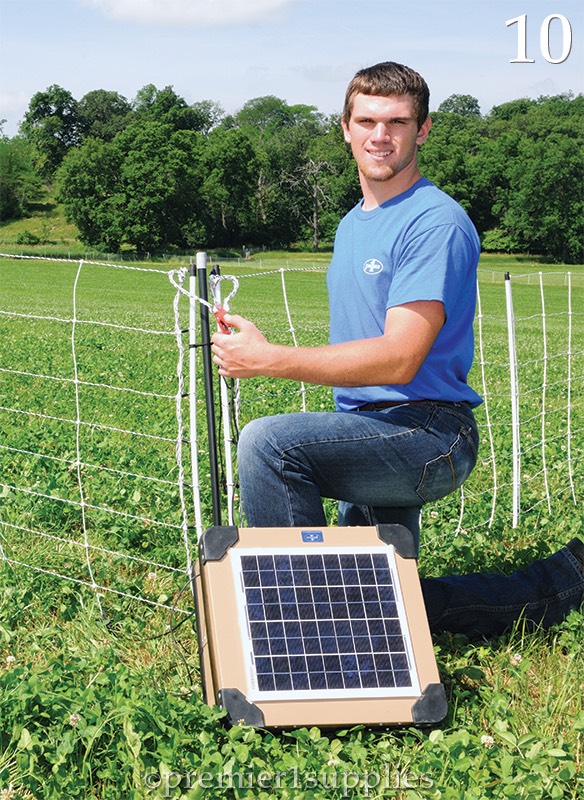
10. Connect energizer to standard net. For either a solar charger with battery (DC) or plug-in (AC) energizer, attach the lead wire from the fence terminal on energizer top clip at one end of the net. Attach the ground wire from the ground terminal on the energizer to the ground-rod system. To connect Pos/Neg, refer to “Connecting Pos/Neg Netting”.
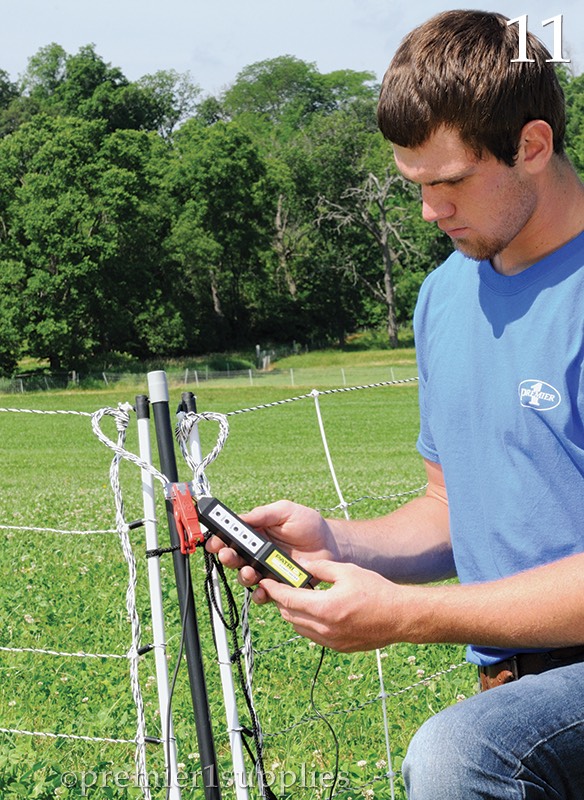
11. Checking voltage. Never put animals into an electric fence enclosure without first checking it for adequate voltage with an electric fence tester. Touch one contact point to the soil or metal spike of the end post and the other contact point to the clip at the end of the fence. Voltage on a newly installed fence should exceed 3,000V.
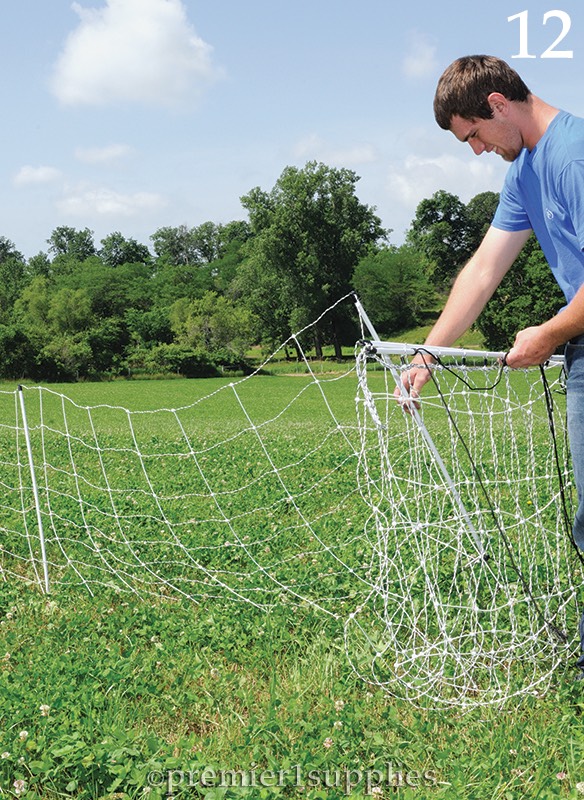
12. Moving (or removing) net. Disconnect the fence from the energizer. Then walk along the fence, progressively removing the posts from the soil and holding them in your hand in a tidy bundle. This allows the netting to fold together into 6-foot-long pleats as it drags along behind you.
To keep the bundle of posts tidy, rest the tops against your belt or hip as you walk. Removing twigs and debris from the net as you fold it up. This will save time later when you reinstall the net.
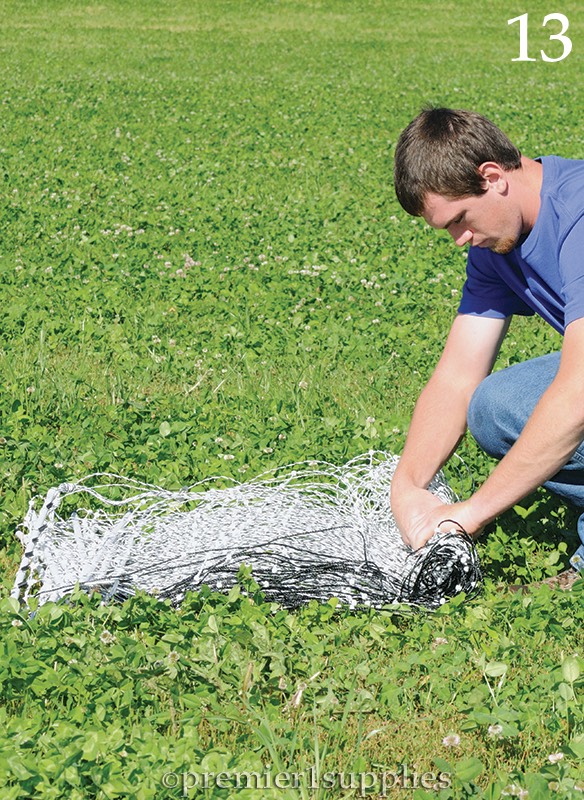
13. Rolling up net. After the length of netting is folded up, pick up the posts as a group and shake the net a bit. This allows the folded pleats to straighten themselves. Then lay netting on the ground and roll up the folds. Start at the end without posts and roll toward the posts. This will produce a roll much like it began—with all the posts on outside and the folds of net rolled up inside.
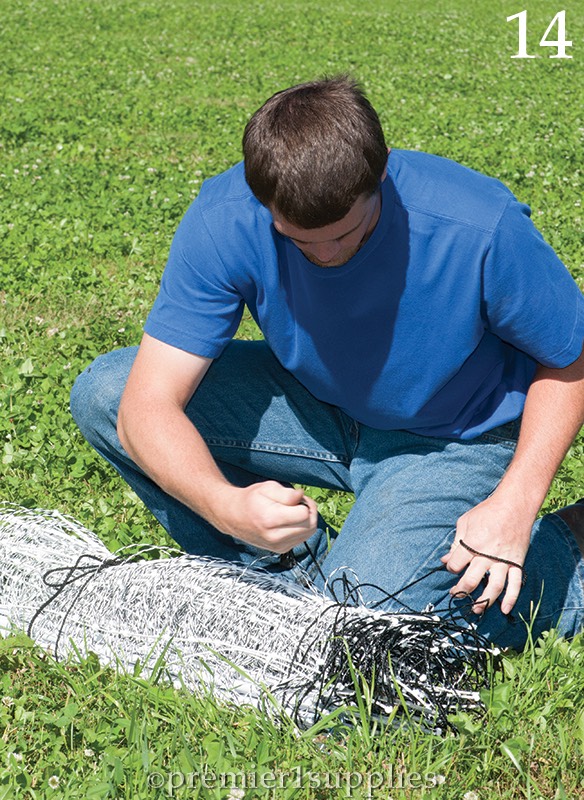
14. Tying up a roll. Firmly tie the roll using the 2 tie strings. It doesn’t have to be as tight as when new, but it needs to be tight enough to be easily carried or stored.
Storage Tips
- Hang the bundle of netting in a barn or shed. Laying the net on the ground may encourage rodents to nest in it, which may cause damage to the conductors.
- Mice and rats will not always, but can and do often chew on electrical wires and cords. This can cause damage the netting. Store away from feed sources where rodents are likely to nest.
- Prevent livestock from resting on or trampling the stored bundles. This tangles the strands and spikes, while reducing the longevity of the materials.
Warning!
Electric fence is a pain barrier, not a physical barrier. A common mistake is not electrifying it. Animals may escape or become entangled (and may die). On a % basis, entanglement is very rare, but it can and does occur. If animals are scared or starved it will not keep them in. The first time you put the animals in the net, you should be available to watch them for a while. That way if one were to get into the fence and get caught, you can turn the power off and get them loose.