Troubleshooting Electric Fences
By Premier 1 Supplies
Is the problem with the energizer or the fence? How to check…
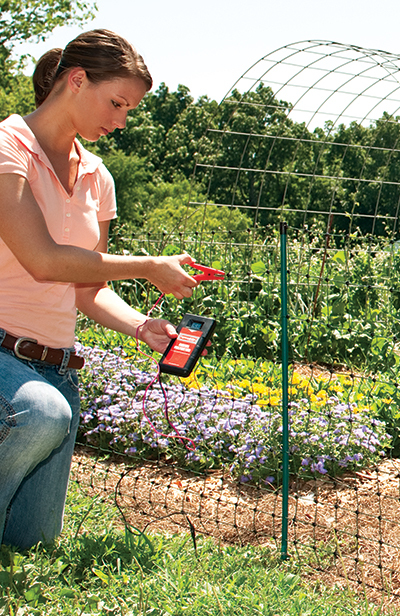
You’ll need an electric fence tester (and battery charge meter if testing DC/solar units) to measure voltage.
Start by measuring the voltage at the end of the fence line. If the voltage is below 3000V, follow these steps to determine if the problem is with the fence, or the energizer.
Test the energizer first!
- Turn off the energizer.
- Disconnect the wires going to the fence and ground rod system.
- Turn the energizer back on.
- Measure the voltage on the energizer between the two terminals (positive and negative) with a digital voltmeter or other high-voltage tester. Touch one end to “-“ (earth terminal) and the other end to “+” (fence terminal). The reading tells you how well the energizer is working without any other variables.
- If the tester reads below 5000V, then the energizer (or possibly the battery, if it’s a battery/solar energizer) is the problem. If the voltage is above 5000V, then the trouble lies with your fence.
If the energizer is at fault:
Determine if the battery (for solar and DC units) or the energizer is the problem.
- Test the battery with a low-voltage tester; recharge if lower than 12.2 volts
- Check the grounding system
If the fence is at fault:
Re-attach the fence and ground wires to the energizer and turn it on. Then, walk or drive along the fence looking for situations that are reducing the voltage:
- Conductors touching another wire, steel post or the soil
- Broken or damaged insulators
If the energizer is at fault:
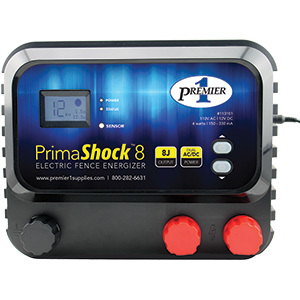
Plug-in units
Is the energizer plugged directly into a 110V outlet? Do NOT use an extension cord as it may cause a decrease in voltage and expose the power supply to the elements.
- Use a circuit test light to check if the 110V outlet is working.
- If the test light works and the energizer does NOT, call Premier (
800-282-6631 ).
DC battery and solar units
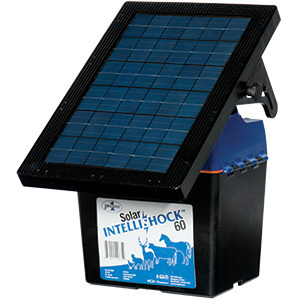
The most common problem is not keeping the battery charge level high enough. When a lead acid battery falls below a 40% state of charge (12.2V) it is less able to ever be fully recharged (12.6V+). It pays to check the energizer batteries often—particularly during the cold of winter to make sure your energizer and fence are working.
- Use a battery charge meter (or other low-voltage tester) to test the battery. Touch the negative lead from the meter to the negative terminal on the battery and the positive lead (or probe) of the meter to positive terminal on the battery.
- If the meter reading is greater than 12.2V, check the terminal connections to ensure they are clean from corrosion and fastened tightly.
- If the meter reading is below 12.2V, recharge the battery.
- Ensure the grounding system (rods/stakes) is installed and connected correctly.
- If the battery fails to hold its charge, test the solar panel (if applicable) or replace the battery.
Troubleshooting solar panels
Correct placement of the energizer and solar panel is critical. All panels should face south and be fully exposed to the sun all day—unshaded by trees, grass, fence posts or buildings. Otherwise, the solar panel won’t develop enough voltage to recharge the battery.
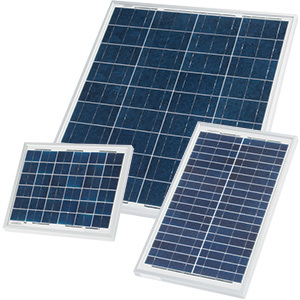
In full sun, a properly working solar panel should output between 15 and 21 volts. To test the solar panel:
- Disconnect the solar panel from the battery or energizer. (If there is an inline regulator, disconnect panel from regulator.)
- With the panel exposed to full sunlight, measure the voltage with a multimeter (or other low-voltage tester). Touch the negative lead from the meter to the negative line of the panel and the positive lead (or probe) of the meter to positive line of the panel.
- If the panel is underperforming (output is less than 15V), remove all debris and clean the panel with water or gently scrub with mild soap.
If the energizer still does NOT work, call Premier (
If the fence is at fault:
If possible, separate the fence into sections. Then progressively reconnect, checking voltage as you go. When the voltage drops, you’ve identified the section with the problem.
If you have a Fault Finder
With the energizer connected to the fence and turned on, follow the direction of the current to find the leak. Move in the direction of the arrow, testing as you go until you arrive at the problem.
Note: Fault finders will not show the direction of a leak within a roll of netting because energy flows in multiple directions within a net. They can indicate which section of net is at fault if you touch it to the clips where two nets join.
If you have a voltmeter or fence tester
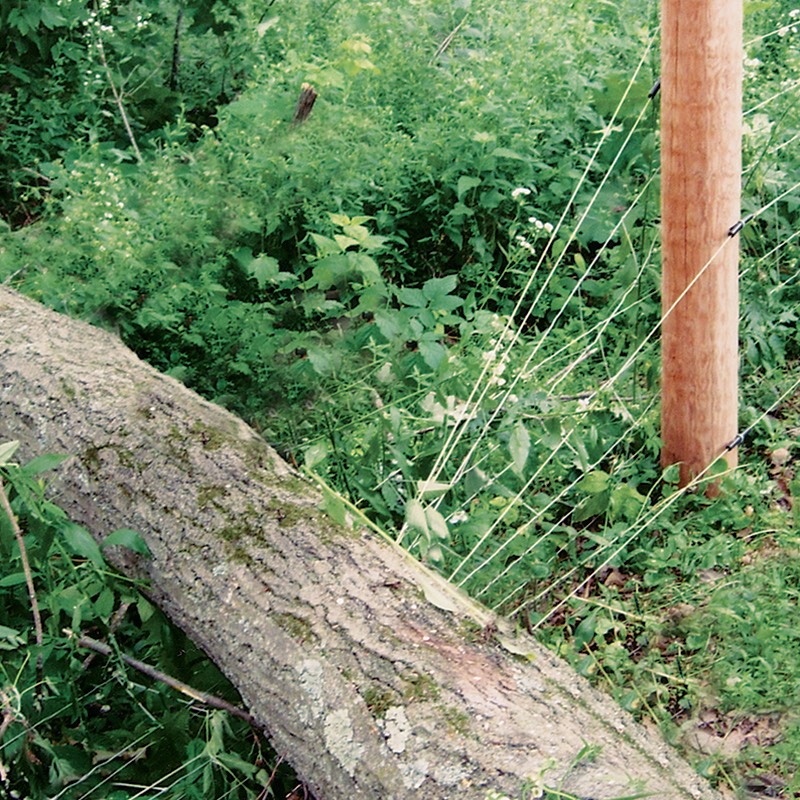
Walk or drive along the fence looking for situations that are reducing the voltage. Listen for snapping sounds. This occurs when a conductor is close to a grounded wire, metal objects, fallen branches, or other green vegetation causing a “short”. Shorts cause fence voltage to collapse and allow animals to touch the fence without feeling pain.
If no faults are found:
If no faults are found the soil may be too dry. Conventional fence systems rely on soil moisture to be effective. However, not all areas have the required moisture. Without proper grounding, the fence’s electrical circuit can not be completed. As a result, it will not be an effective pain barrier to animals.
To ensure your electric fence has adequate grounding:
- Add ground rods
- Increase soil moisture with extra water
- Use a Pos/Neg fence
Before calling for help…
- Is the energizer “On”? Push-button energizers must have their on/off switch activated.
- Hand-held testers that require batteries may give an inaccurate reading (or no reading at all!) if the 9V battery is depleted. Replace the 9V battery, especially when voltage readings are inconsistent.
- Fault finders are unable to test fence energizers.
- When calling Premier (
800-282-6631 ), be physically at the energizer and have a fence tester and battery meter available.


