HotShock 5 (Plug-In) Energizer Kit
Product Details
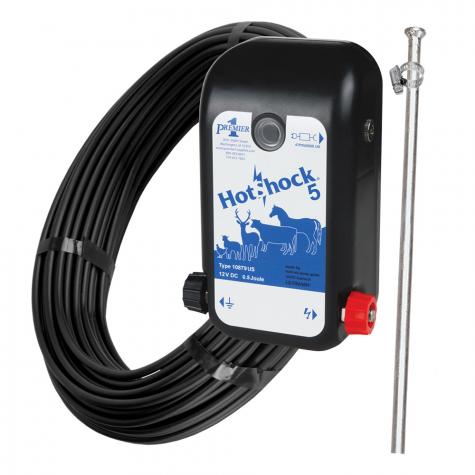
Electrify fences via 110V (plug-in) power with this 0.5 joule energizer kit.
Kit Includes:
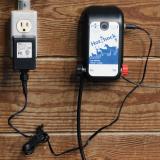
Plug unit into a 110V wall outlet, or connect to an external 12V battery. (Connectors included for both. See Specifications below.)
![]() California Residents: Proposition 65 Information
California Residents: Proposition 65 Information
Instructions/Diagrams:
Common Uses
Specs
| Plug-in Kit* #1120052 |
Battery Kit* #1120053 |
Energizer Only #1120051 |
|
|---|---|---|---|
| HotShock 5 Energizer | ✔ | ✔ | ✔ |
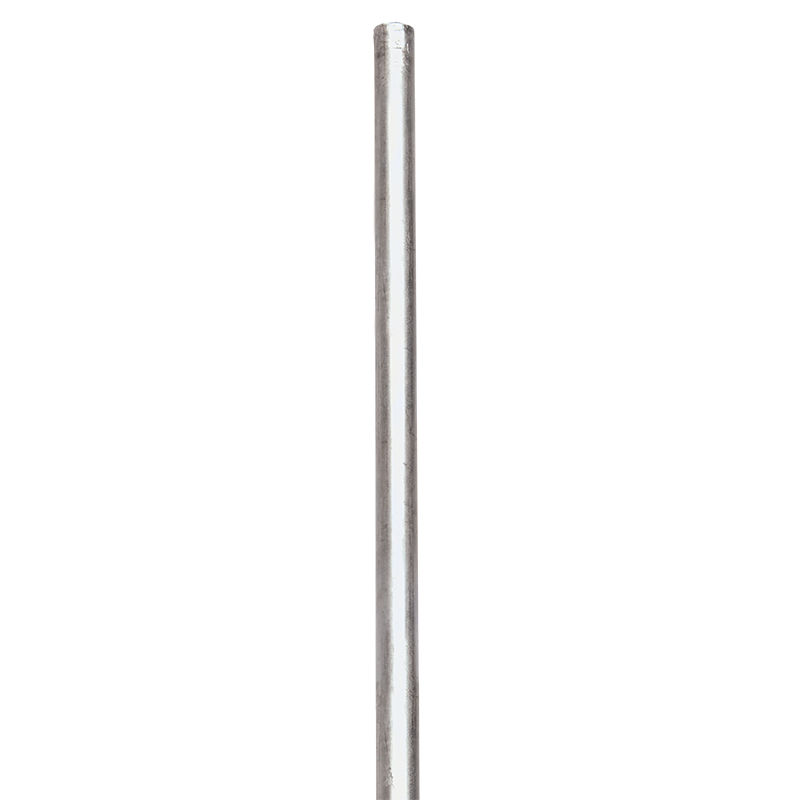
| (1) Ground Rod (galvanized) | 3 ft | 3 ft | |
| (1) Ground Rod Clamp | ✔ | ||
| (1) Hanging Nut | ✔ | ||
| MaxiShock Insulated Cable | 100' roll | ||
| Wiring Harness | ✔ | ✔ | |
| 110V AC Adapter | ✔ | ✔ | ✔ |
| DC Battery Leads | ✔ | ✔ | ✔ |
Should power…**
- 1 mile of 3 strand cattle fence
- 1/2 mile of a 5-7 strand sheep fence
- 6 rolls of 164' sheep/goat nets
- 3 rolls of 164' poultry nets
Miscellaneous
- Requires a grounding system. Inadequate grounding is the most common failure in an electric fence system. We recommend 3 ft. of grounding (a 3 ft ground rod is included in the kit) for this energizer.
Energizer Specifications
- 0.50 released joules
- 0.50 joules in moist soils
- 0.24 joules in dry soils
- Pulses per minute: 38
- 12V DC draw: 46 mA/hr
- 110V draw is 1 watt per hour
- Impedance type: low – pulse type
- Input: AC/DC
- 110V plug-in adapter
- 12V battery adapter (Batteries sold separately.)
- 110V Adapter/Charger
- Operates the energizer as a 110V unit when near a wall outlet
- 12V DC Leads
- To connect energizer to an external battery (batteries sold separately)
How To Use
- Connect insulated cable (stripped back 1 - 2" on ends) to the fence terminal on energizer, run the cable to the fence line and connect, or use the positive part of the Wiring Harness, not included.
- Then run a second length of cable from the ground terminal (with ends stripped again) on the energizer to the ground rod, or use the negative part of the Wiring Harness, not included.
- Secure to ground rod with a clamp.
- Plug into outlet and test fence.
To use light tester WITHOUT ground probe
For Fence:- Touch the top of the tester to the electrified fence you wish to test.
- Push the button (if applicable).
- The tester will light up according to the voltage at that location on the fence.
- Turn off energizer.
- Disconnect ground wire and fence wire from energizer.
- Turn on energizer.
- Touch the top of the tester onto the top of the fence terminal on the energizer.
- Push the button (if applicable).
- The tester should light up to 6000 volts or more.
To use light tester WITH ground probe
For Fence:- Insert the probe of the tester into the soil.
- Remove your hand from the metal portion of the probe (to avoid a shock).
- To get a voltage reading, touch the metal clip (on the top of the tester) to the electrified fence you wish to test.
- The tester will light up according to the voltage at that location on the fence.
- Remove the tester from the fence and the probe from the soil. Do not remove the probe by pulling the insulated wire.
- Turn off energizer.
- Disconnect ground wire and fence wire from energizer.
- Turn on energizer.
- Touch probe from tester to ground terminal on energizer (be sure to hold onto the insulated wire and not the metal probe!)
- At same time touch the fence hook on tester to fence terminal on energizer.
- The tester should light up to 6000 volts or more.
Ground rod and clamp
- Allow 3 ft of rod per joule of energy released.
- Use multiple 6 ft rods for large energizers and 3 ft rods for smaller energizers (and lightning diverters).
- Make sure to put the ground rod all the way into the ground.
- To attach ground wire, strip the coating off the wire 1" - 2" and make an elongated "U" in the wire.
- Put the "U" against the rod and put the clamp around it. Tighten.
100 ft MaxiShock insulated cable
Just cut the soft wire cable with a knife, strip off the insulation and wrap it 4 or more times around the wire by hand. It can be removed and reinstalled many timesTroubleshooting
Start by measuring the voltage at the end of the fence line. If the voltage is below 3000V, follow these steps to determine if the problem is with the fence, or the energizer.
Test the energizer first!
- Turn off the energizer.
- Disconnect the wires going to the fence and ground stake/rod.
- Turn the energizer back on.
- Measure the voltage on the energizer between the two terminals (positive and negative) with a digital voltmeter or other high-voltage tester. Touch one end to “-“ (earth terminal) and the other end to “+” (fence terminal). The reading tells you how well the energizer is working without any other variables.
- If the tester reads below 5000V, then the energizer (or possibly the battery) is the problem. If the voltage is above 5000V, then the trouble lies with your fence.
If the energizer is at fault:
- Test the battery with a low-voltage tester; recharge if lower than 12.2 volts
- Check the grounding system
If the fence is at fault:
- Conductors touching another wire, steel post or the soil
- Broken or damaged insulators
Precautions
Ground rod and clamp: When installing more than one ground rod, space the ground rods apart 2 feet longer than the rod. Example 3' rods should be spaced 6' apart.
To Reduce Risk & Liability
- Never place your head or upper spine near an electrified wire. Accidental head or neck contact can occur when pushing a voltage probe into the soil. Be careful when doing so to avoid head-to-wire contact!
- Never attempt to step over or climb through an energized fence of any kind.
- Never encourage anyone to touch an electric fence.
Warranty
Listed below are recommended optional components or related items. Your particular situation may require alternative recommendations. Please call and talk to our consultants if there are any questions at 800-282-6631.
-
Fence Connectors and Accessories
Fence & Battery Digital Tester
Item #200010 -All-in-one fence tester checks the voltage of energizers, fences and 12V batteries. Simplify electric fence troubleshooting with one device!
$38.00 -
Fence Connectors and Accessories
Ground Rod, Galvanized, 6'
Item #151000 -Complete the circuit of your electric fence with galvanized grounds. No corrosion unlike copper rods.
$22.00 -
Fence Connectors and Accessories
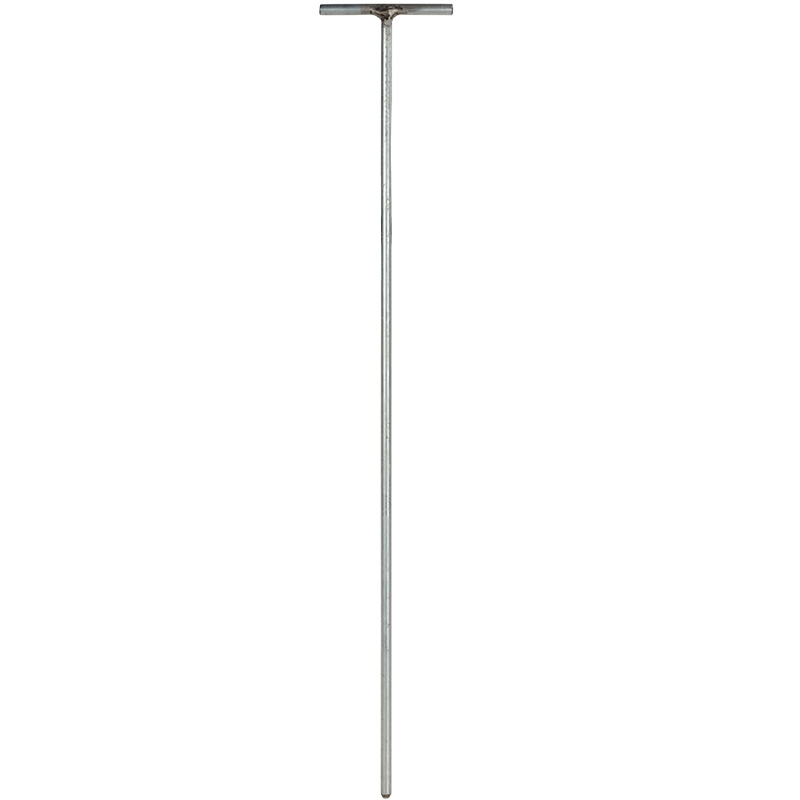
T Ground Rod, 3' x 1/2"
Item #151210 -Provide a conductive ground circuit for your electric fence. Conductive t-grip is easy to install and remove.
$20.00 -
Fencing
Warning Sign
Item #346000 -Let passersby know that your fences are electrified with this easy-to-read electric fence warning sign.
$2.50
-
Energizer Solar Panels and Accessories
MaxiShock Double Insulated Cable, 100'
Item #164207 -Pliable double insulated cable for above-ground electric connections. Excellent conductivity (19 Ω/1,000 ft) make it a good choice for high voltage electric fence systems.
$38.00 -
Fence Connectors and Accessories
Ring Terminal Harness
Item #130800 -Wiring harness fits most electric fence energizers. Alligator clips for attaching to fence (positive) and ground rod (negative). Ring or bare wire ends.
$9.75 -
Fence Connectors and Accessories
Stainless Steel Clamp
Item #151800 -Stainless steel hose clamp. Firmly holds negative leads from the energizer to the ground rod.
$1.30 -
Handling Equipment
Ground Rod and/or Connecting Pin, 3'
Item #151200 -Effectively ground energizers or firmly secure handling equipment. Galvanized pin is resilient to rust and wear.
$11.00 -
Energizers
HotShock 5 Energizer
Item #1120051 -0.5 joule output electric fence charger for powering livestock and garden fences. Will energize 3–5 rolls of electrified netting.
$102.00 -
Fence Connectors and Accessories
12V Battery Leads for HotShock® and IntelliShock® Energizers
Item #112002 -Attach to Premier-branded electric fence energizers to adapt them to run on battery (12V DC) power.
$9.26 -
Fence Connectors and Accessories
Replacement 110V Adapter/Charger (spade connectors)
Item #1132006 -For use with IntelliShock® and HotShock® fence energizers. Recharges depleted batteries or operates the energizer as a 110V unit when near an outlet.
$26.80 -
Fence Connectors and Accessories
Replacement 110V Adapter/Charger (external port)
Item #1132007 -For use with IntelliShock® and HotShock® fence energizers. Recharges depleted batteries or operates the energizer as a 110V unit when near an outlet.
$28.00 -
Fencing
Terminal Ground Knob (Black) for PRS Pro 100, HotShock, Solar IntelliShock and Kube Energizers
Item #88128 -Replacement parts and components for Premier’s PRS Pro 100 electric fence energizer.
$0.82 -
Fencing
Terminal Fence Knob (Red) for PRS Pro 100, HotShock, Solar IntelliShock and Kube Energizers
Item #88128RT -Replacement parts and components for Premier’s PRS Pro 100 electric fence energizer.
$0.82
Write a Review
You must be logged in to leave a review. Please sign in.
Michael B from Minnesota
We got everything set up and hooked up which was very easy. Thank you to customer service! It’s working better then expected.
Bruce S from Ohio
Delivery was fast enough. It came well packaged. I was told it could only be plugged in to an 120V AC outlet with a 100' supply cable but it has what appears to be battery clamps that came with it. Can I use that to hook up to a battery? I don't know. Anyways, the 100' cable was more than enough for my use. Install was super simple and only took about 5 minutes tops. Very happy with it so far.
Jackie S from Washington
This product has an amazing reputation. I can only add to that. It’s well made and we can see that it will last. I (a woman of 74 years) set up the fence part by myself. I could carry it and get it secured into the ground. The energizer came separately. It works well and we are pleased with it. The directions for installing it were woefully lacking. We spent a considerable amount of time watching YouTube videos that helped. We highly recommend the switch my husband installed to turn the fence on and off.
Bruce G from Oklahoma
High quality product. Kit works well and will last many years. I have purchased quite few items from Premier 1 in the past and the products are always received quickly and in working order. With this purchase the fence tester did not work. I contacted Premier 1 and Bren immediately sent a new working fence tester... no questions asked. It is becoming tougher to find companies with this type of high quality customer service. Keep it up Premier 1, you are doing it right.
Kerry H from South Dakota
Well, so far so good. It's only been installed about two weeks as of @ Nov 1st. What I really give lots of stars to are Premier 1's video instructions. Instructions I think are often written without appreciating that new users only know what the stuff looks like, but not what it's called. So if one reads connect the terminal spud to the peeler with the handle in the lateral left position...? But moving pictures? Now you're talking. One suggestion I have about netting tension, perhaps tension could be described by the arc at the top of the netting. All in all, go with this company.


